Emergency Repairs
Handling the breakdown of major systems
Mariners going offshore should be prepared to handle the breakdown of major systems. The discussions that follow are limited. You may not find techniques here that apply to your particular vessel, but you may be inspired to think through a repair solution that will work on your boat.
Jury Steering
The simplest form of emergency steering, which used to be standard issue in ships' lifeboats, was an oar. It could be put into a crutch, oarlock, or notch at the stern and used in the manner of the Viking ships. If your boat is small enough, an oar might work for you. If not, it's worth spending some time — before an emergency occurs — thinking about how you would install a jury steering system.
The first to do when the rudder or tiller breaks is stop the boat (turn off the engines and/or lower the sails) and investigate the cause. If the rudder is thrashing around you must take immediate steps to control it or it is likely to damage its gudgeons and pintles. Some boaters drill a hole through the outer lower end of the rudder blade, through which a line can be led to each side of the gunwale. This can serve as a brake on the rudder or as an emergency steering system.
If there is no hole in the rudder, one method of restraining it is to put a rope over the stern, secured on each side of the stern, and haul it tight against the rudder blade. If figure-of-eight knots are put into the rope, the blade will not be able to slip beyond the nearest knots. An alternative is to put lines on each side of a large shackle, from which the pin has been removed, and haul the shackle in tight over the aft end of the rudder blade. This method can be used as a rudimentary steering system, provided the shackle can be held in place, by easing on one line as the other is taken up to alter the rudder angle.
In a dire situation, you can even use a yachtsman's or fisherman's anchor to restrain the rudder. Put one line on one arm, another on the cable ring, and lower the anchor down the rudder so the blade is caught between the shank and arm.
If the tiller has broken, you can make an emergency one by lashing any suitable piece of wood or metal to the rudder head. When the boat has wheel steering, the usual cause of failure is one of the tiller lines. You should carry a spare wire that's already spliced to fit the system, but if one isn't aboard, you'll have to make a replacement or fit an emergency tiller.
With hydraulic steering systems, the usual cause of failure is a leak in the hydraulic pipelines. If the leak can be repaired and sufficient hydraulic fluid, or an acceptable temporary substitute, is on board, you're back in business. If insufficient spare fluid is available, a manual back-up steering system should be installed. All hydraulic steering systems should have stop valves in the pipelines and a method of isolating the wheel from the hydraulic rams so if the failure is due to some other cause, the wheel can be disconnected and an emergency tiller used atop the rudder post.
The most difficult repair is when the rudder stock breaks, because any jury steering system is going to have to be rigged directly to the rudder blade — and that means using one of the methods described earlier to control the angle of the blade.
When the entire rudder is lost, it is unlikely that the modern fin keel and skeg sailboat can be steered by balancing the sails (which was occasionally possible with the older, long keel designs, or with two-masted boats). However, it may be possible to control direction by setting the jib and hanking a small jib or storm sail to the backstay. The jib will provide power and hold the bow off the wind. By trimming the sheet on the small sail, the boat will tend to come into the wind; by easing the sheet, the boat will fall off. If the boat is fitted with a self-steering gear that has an auxiliary rudder, this might just work, but it would be unwise to put too much strain on it. You should reduce sail to keep the speed down.
The most obvious jury rudder is made by using a spinnaker pole or a similar spar over the stern like a steering oar. The inner end of the pole should be lashed to the backstay, which then acts as a pivot. Two lines should be led from the outer end of the pole, one to each side of the stern, where they pass through a block and then into the cockpit. Experimentation will show whether these lines need to be led to winches or whether they can be pulled and eased manually. If the pole is long enough, it may be possible to lash it to the backstay at a point on its length that allows the inner end of the pole to be operated like a crude tiller, with the fulcrum being at the backstay. However, this is hard work and the lines should be rigged for backup. The pole on its own will steer the boat as it is moved from side to side, but it will be much more effective if a plank, such as a bunk board, is bolted or lashed to it.
When the stern of the boat is narrow and the angle of the lines from the spinnaker pole back to the stern is acute, the tension required to pull the pole from side to side is considerable. It can be lessened by widening the angle. The easiest way to do this is to lash another spinnaker pole square across the stern of the boat, with blocks at each end, and lead the tiller lines through these blocks instead of the ones on the boat?s gunwale.
Jury Rigs
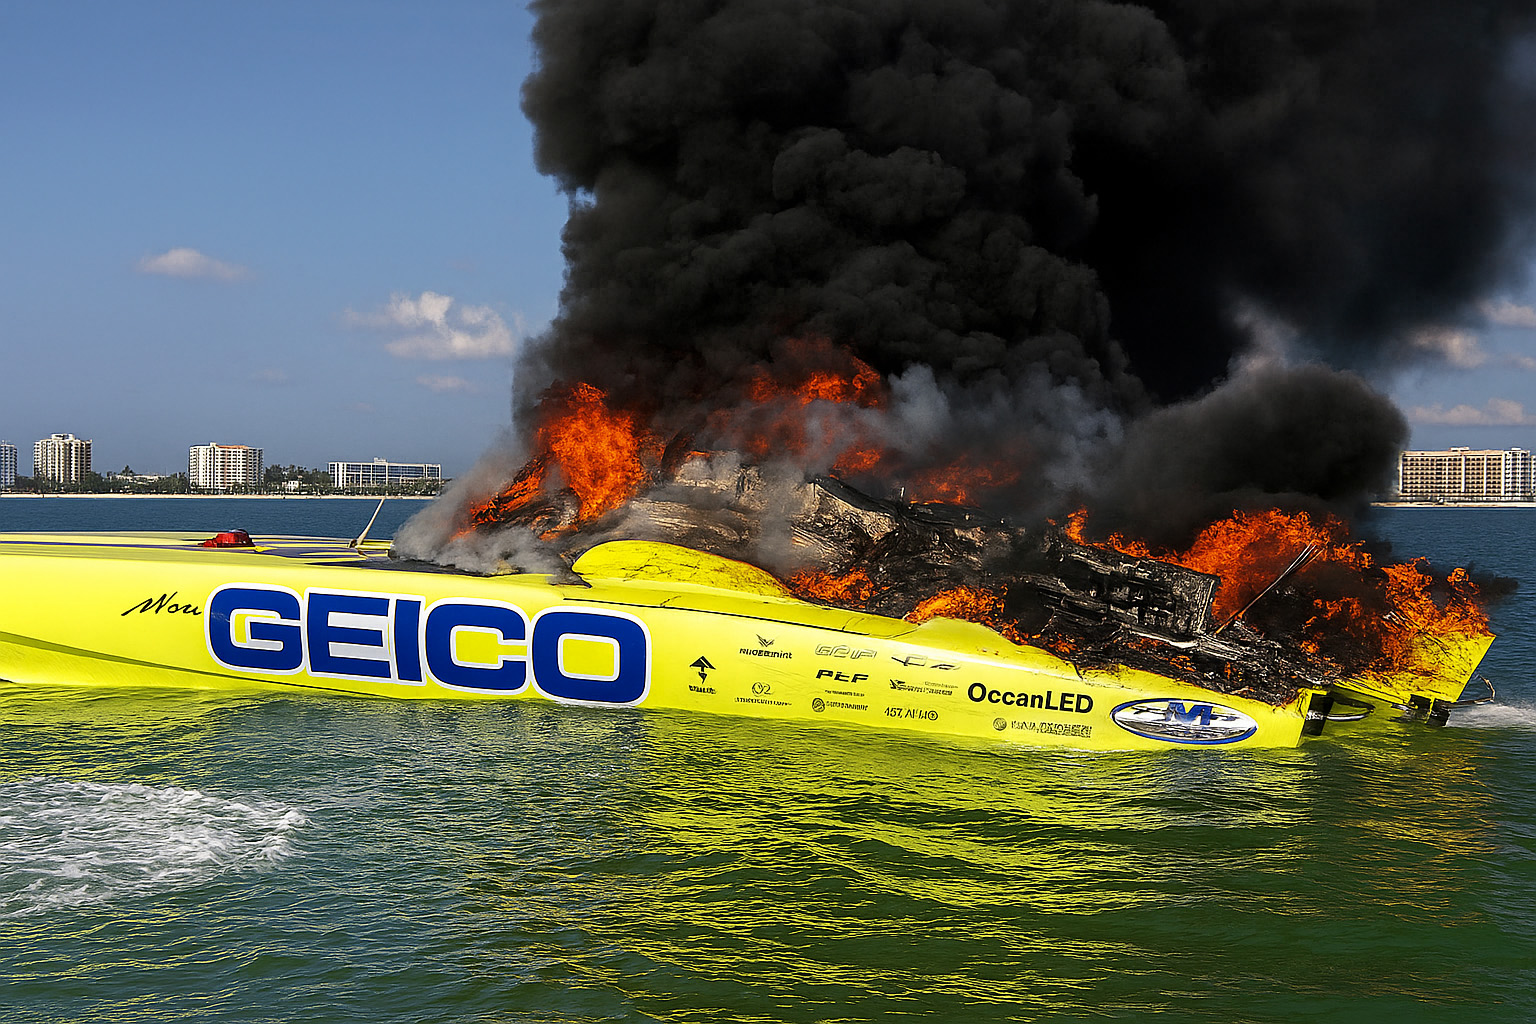
Being dismasted is a serious misfortune for a sailing boat. Dismasting tends to occur in heavy weather, usually because of the failure of some part of the rigging. In the quest for aerodynamic efficiency, some modern racing boats are rigged too lightly and, although modern materials are very strong, they are not indestructible.
One result of a dismasting in a monohull is that the boat's action will be much quicker because of the loss of the inertia aloft. Therefore, the repair work is made all the more difficult. If you are not far offshore, it's best to make for port under power once you have sorted out the mess. If, however, you are dismasted when you are in midocean and beyond the reach of outside help, you must improvise some kind of jury, or temporary, rig. Even if you have large fuel tanks, restoring some sail area will steady the motion of the boat and provide a modicum of sailpower.
Jury Masts
If the boat is a ketch, yawl, or schooner, and the mainmast breaks, it may be possible to move the other mast into its position. Of course, in a ketch or yawl it may not be necessary to replace a broken mizzenmast because the boat may sail perfectly well under the sails on the mainmast alone.
In the event that the only mast has broken and been lost, a jury mast will have to be set up from what remains on board, such as the main boom, spinnaker poles, or bowsprit. If a stump of the mast remains, a spar, previously dressed with its shrouds, stays, and halyards, can be lashed upright to this stump.
A reasonable mast can be made by using two spars as sheer legs and setting up fore and backstays, but such a rig is only suited to a square sail, and another spar will be needed as a yard of sorts.
When a mast breaks, your first job is to clear the wreckage and recover as much usable rigging and bits of the mast as possible — these pieces may come in handy for making a jury rig. If part or all of the mast has gone overboard, it will be attached to the boat by shrouds and stays, so check that it is not endangering the hull of the boat.
Your next move depends upon the sea state. In anything worse than a small chop, it will be difficult or impossible to haul the mast on board, but the wreckage cannot be left lying alongside because it will likely knock a hole in the hull. If conditions permit, try to recover the sails intact and release all the rigging, but leave a sturdy line attached to a part of the mast or rigging, and then let go. A wooden mast will float clear of the boat; an aluminum one will sink. Either way, the goal is to keep the mast well clear of the boat but still attached so that it can be re-covered and used as part of the jury rig when the sea conditions improve.
Where the sea conditions are bad, and it is therefore dangerous to try and keep the mast attached, all the wreckage will have to be let go completely, and other items that remain on board must be used to make up the jury rig.
When conditions allow, haul the mast in alongside. Start by putting fenders over the side between the mast and the hull and lash the mast to the boat to reduce the relative movement between them. Next, remove the rigging by disconnecting it from the mast and then from the deck by undoing the turnbuckles and coiling it down. Doing so reduces the weight hanging over the side, lessens the load to be heaved on board, and eliminates clutter on the deck (thereby making your work there easier.)
Unless it is light, hauling the mast on board is not an easy task, and so should be tackled methodically. Move the mast fore and aft until its center of gravity is level with the midships section of the boat. Pass straps from the deck, down round the mast, back onto the deck again, and attach tackles to the upper end of the straps to form a simple sling.
If no suitable tackles are available, take a line from the upper part of the strap to a snatch block on deck in line with the strap's position and back to a winch. Alternatively, instead of using a strap, run a line from the winch through a snatch block and then down over the mast and up from beneath the mast to be secured to some strong point on deck.
On a large boat, you can use more than two straps, but on a boat of, say, 30 feet in length, two should be sufficient. The straps should be placed between six and 10 feet on either side of midships, depending on how the hull curves. If the hull is fairly straight, the straps may be farther apart.
Having rigged the tackles, start to take up the weight. If the mast refuses to come up the side easily, the job can be made easier by fitting a temporary ramp, angled down from the deck into the water, up which the mast can slide. Spinnaker poles or the main boom will do for the ramp. Each should be dropped over the side between the hull and the mast and then its top end hauled inboard. This will have the effect of moving the mast upward and away from the hull. The ramps should be fitted with fore and aft guys so that they cannot slip. Once the ramps are in place, hauling the mast on board with the slings should be a lot easier. Once the mast is aboard, lash it to the deck and start to assess what materials are available to set up your jury rig.
Mast intact. If the mast is deck-stepped and has gone over the side only because of rigging failure, it will probably still be intact. First, repair or replace the broken rigging. Even if the only material available is line, use it to set up temporary rigging replacements and make all as tight as possible. The rig is unlikely to be as strong as the original rigging, but it will provide some support, and if reduced sail is subsequently set, it should take the strain.
Mast broken. If the mast has broken, you have to decide which part of it to use for the jury rig. Normally, it makes sense to use the longest remaining section because more sail could be set. Sometimes, though, it's better to use a shorter section because it will be easier to set up - for example, when the top part of the mast is available with halyard sheaves and tangs intact for the rigging.
When a lower section of the mast is to be used and the break is just above a spreader, the spreader level will make a convenient point for the attachment of the fore and backstays. These can either be fastened directly to the mast just above the spreader, or tied off to a strap placed around the mast above the spreaders. Either way, the spreaders will prevent the new stays from slipping downward.
When the mast has broken close to the deck, leaving a stump, it is usually best to leave the stump and lash the jury mast to it. When stepping the mast, make a secure lashing to hold the foot of the jury mast to the bottom of the stump at deck level; once the mast is upright, lash it to the stump. The best way to lash is to take at least a dozen tight turns around the two pieces of the spar and finish by frapping the lashing between the two spars and tying it off. If there is space, put more than one such lashing around the spar.
Stepping the mast. There are two methods for re-stepping the mast. One is to push the mast forward with its head projecting out over the bow and its heel lashed to hold it at the mast step. Set up two spinnaker poles, or a spinnaker pole and main boom, as sheer legs over the deck, aft of the mast step, and hang a block from the apex of the sheer legs. To avoid damaging the deck, place pieces of wood beneath the heels of the spinnaker poles. Next, put lashings around the bottom of the poles and take them to secure points fore and aft so that the heels cannot slide. Lead a line from the masthead, or a point on the mast that would be the same height as the top of the sheer legs block when the mast is upright, through the block on the sheer legs, and down to a winch on deck. Attach the shrouds and the forestay to their rigging screws and then winch up the mast. The moment it is upright, secure the backstays and then dismantle the sheer legs.
The other method, which almost certainly has to be used if the mast is intact because it will be too long to extend safely over the bow, is to lay the mast on deck with its head over the stern. Rig sheer legs again, just forward of the mast step, and follow the same procedure. This time, however, it's the forestay that will have to be attached once the mast is upright.
In both systems, all the standing rigging, halyards, running backstays and so on, should be secured to the mast before it is stepped.
Topmast broken. When the upper part of the mast breaks off, leaving a substantial length of the mast still standing, the remaining length can be used to set sail. First, remove the wreckage. If the broken piece of the mast has not already fallen, lower it as gently as possible to the deck.
If there are no halyards left below the break, you will have to devise some way of getting aloft to rig temporary stays and halyards. Where there are two lower shrouds, the simplest system is to make ratlines. When the mast has only a single lower shroud, make a ladder by tying off lines between the mast and this shroud. This task may not be easy because the boat will become jerky without the extra weight.
Once it is possible to climb to the top of the broken mast, either put a jury mast knot around the top to attach stays, shrouds, and halyard blocks or, when the break is close above a spreader, attach these to the mast on a strap around the mast just above the spreader.
Sprit and Gunter Jury Rigs
A very handy jury rig can be set up once a mast is stepped, using either the sprit or gunter rigs. The sprit rig is practical when the lower part of the mainsail is intact. Any suitable spar can be lashed roughly in the position of the main boom gooseneck so that it can rotate a little. Its outer end is then lashed to a suitable point on the leech of the mainsail. The mainsail should be sewn along its new head and, if necessary, a rope should be sewn along this seam to provide extra strength.
The gunter rig is slightly more difficult to set up, but will work when the upper part of the mainsail survives and there is more length of mainsail than the mast remaining or the jury mast. The gunter rig is simple to handle and allows a higher sail to be set when the jury mast is short and it is not possible to put parrels on the upper part of the sail because they could not be hoisted above the spreaders.
Jury Sails
If you are lucky, enough of the mast will remain to allow the mainsail, suitably reefed, to be set. However, if the mainsail is so badly torn that it cannot be repaired, some other sail will have to be set as a mainsail.
On a ketch, this could be the mizzen. On any boat, a jib or staysail can be used and set loose footed, with the clew taken out to the end of the main boom. Where possible, the sail should have its luff secured to the mast, be this its usual luff or its leech if the sail happens to fit better back to front. If the mast track remains, it is a simple job to sew sail slides onto the jury sail. If the track is unusable, it will be necessary to make up short lines to go around the mast; however, this will only work if there are no obstructions, such as spreaders, in the way.
Where it is not possible to make up any form of fore and aft sail, a square sail or a lateen sail may be the only answer. In both cases, a spar will be necessary. It is advisable to rig up a halyard for this yard and secure the halyard directly to the pivot point of the yard, or onto slings, so that both the sail and the yard can be lowered easily to the deck when necessary.
If none of the sails left on board will fit as a mainsail, it may be necessary to adapt them for the new rig. No one likes to cut up a perfectly good sail, but there may be no alternative.
Hull Leaks
Discovering a significant quantity of water in the bilges or, worse still, rising above the floorboards in the cabin, leads to one reaction - panic. Unfortunately, that's a less than desirable emotion to contend with when quick and careful thought and action are required.
Finding the Source
While it may seem a good idea to devote all your energy to bailing, that's usually not a good idea. Other than switching on any nonautomatic bilge pumps and putting spare crew in charge of manual pumps and buckets, your first priority must be to find the source of the water - not always an easy job.
If the water is originating from a hole upwards of 1 inch (25 mm) square below the waterline, you have only a short time to locate the leak and stem it before the boat sinks or becomes unstable and capsizes.
Is the water fresh or salt? If fresh and you are boating in salt water, a potable water supply tank or line has developed a leak (turn off the electric potable water pump if fitted), or rainwater has been entering into a compartment in the boat, unnoticed over a period of time. In either case, there is no immediate danger. If you are sailing in fresh water, though, keep on checking.
Almost all cruising boats have a number of holes below the waterline: through-hull fittings, seacocks, instrument transducers, shaft logs, rudder shafts, keel bolts, anode studs, and prop shaft bracket fittings are some of the most common. Unless you are certain that you have collided with something that has damaged your hull, begin your investigation at these below-waterline areas.
Systematically check around all seacocks and close all nonessential ones until the leak has been found. Fractured hoses can be difficult to detect. On a boat that is significantly heeled over, sea toilet piping and submersible bilge pump through-hull fittings below the heeled waterline could be the source.
If the propeller shaft has been partially or completely pulled out of the boat, ensure the integrity of the rudder and shaft bracket mountings.
Check the cooling water circuit and exhaust on any working engines - the cooling pump is capable of pumping a large quantity of water straight into the bilge via any fractured lines. On powerboats fitted with outdrives, don't forget to look at the transom area in the engine compartment for failure of the rubber bellows sealing the drive.
If the boat has been taking heavy spray or green water, openings above the waterline such as anchor fittings, hatches, portholes, windows, through-deck chainplates, and blocked cockpit drains may be suspect.
If no immediate cause is found, hull damage is a possibility, and all internal parts of the hull so far uninspected should be examined as quickly as possible. If furnishings, fixed floors, or interior moldings conspire to hide some areas, look farther down toward the keel, where possible, to see if water is flooding from that direction.
Taking Action
Most small-craft bilge pump systems are unable to stem the flow of a major leak unaided. Once a leak is located, you want to immediately reduce the volume of the leak to a level that the pumps can manage. The easiest method of stopping water from flowing through a broken below-waterline fitting, seacock, hose, or shaft that is completely missing, is to drive a round, tapered softwood plug into the hole. Packs of these plugs in assorted sizes are available at most major boating stores. To be most effective, suitable-sized plugs should be secured near all through-hull fittings, with spares carried in a handy locker well above the bilges. Remember that water pressure will try to force these temporary plugs out, so they need to be tended until secured in some way.
Instrument transducers often come with a spare solid plug to fill the hole while the transducer is being cleaned; these, too, should be kept in an easily found and accessible place in case of emergencies - preferably adjacent to the fitting.
If the hole is uneven, wrapping a rag around a plug may fill the gaps. Forcing cloth alone into place may also reduce the flow to manageable levels.
It may seem obvious, but even if it is going to take a relatively short time to locate a suitable material for a plug, try to constrict the flow with your hand if possible. A 2-inch (50 mm) hole 30 inches 0.75 m) below the waterline will let in around 40 gallons (180 L) every minute.
If the propeller shaft has become detached but is still inside the shaft log, the best solution is to push it back in place if at all possible. Hold it in place with a spare hose clamp until you can make a better, more permanent repair.
If there's damage to the hull you can rig a collision mat, which is a cloth (canopy, sail, or even a deflated inflatable without floorboards) that can be tied over the hole from the outside with ropes secured to the corners. Water pressure holds the mat against the hull, thereby substantially reducing the flow. Patented devices that work like umbrellas - they're pushed through the hole from the inside and open on the outside.
If you don't have a collision mat or the time to rig such a device, press bunk cushions against the damaged area from the inside to reduce the flow. Cushions can also be used to reduce water pouring in through shattered windows or failed hatches and portholes.
Aboard a sailboat, changing tack may reduce the pressure on any damage. On a fast powerboat, the hole may be in a region where, if the boat stays on the plane, the leak is stopped or reduced. A change of course or speed on all craft will also help if the leak is above the waterline. Again, by initially stemming the leak in any way possible, you gain time to solve the problem.
On both powerboats and auxiliary-powered sailing craft, the engine raw-water pump can serve well as an emergency bilge pump with considerable capacity. Stop the engine, close the seacock, and disconnect the hose. Put the end of the hose down into the bilge as far as it will reach and restart the engine. The water will be taken from the bilge ahead of the raw-water strainer; this is important, as there may be trash and small objects in the bilge water. Monitor this action closely to ensure that there is enough water for engine cooling - you don't want to risk damaging the impeller or overheating the engine. Using your engine's raw-water pump for this purpose is something you can plan for in advance by placing a T-fitting in the line between the seacock and the raw-water strainer. From this fitting, run a short length of hose into the bilge with a valve adjacent to the fitting. When you need the engine for emergency pumping, close the seacock and open the valve in the line leading to the bilge. If the water inflow to the bilge is less than the pump's capacity, the seacock can be partially opened to allow an adequate amount of water to reach the engine.