Hull Repair Made Simple
Fixing watercraft hull damage doesn't have to be tricky
I'm not really sure when it happened, or how it happened. All I know is when I pulled the Jet Ski off the back of the truck and transferred it to the trailer, the ding was there.
It could have happened at the cabin. It was on the beach for an hour and a half over lunch (the last half hour was to allow the food to digest properly, of course) and it was in and out all afternoon. Three different riders burned through two tanks of gas, so there was a lot of beaching and launching along with two other watercraft and a row boat. There was also the two-and-a-half hour ride back home. So really it could have happened any time.
"It" was a ding about the size of a half-dollar just below the hatch that covers the fuel fill on the SXi Pro. On top of everything, this was a loaner boat from Kawasaki, so I felt really bad.
Fortunately, Kawasaki understands that things like this happen — at least I hope they do — and it really isn't all that hard to repair a ding like this. The thing is, stuff like this happens even when you're careful. Hulls and decks get dinged. Other riders bump you on shore. Waves lift you into docks. You miss hidden stumps and rocks under the water.
If you do find yourself with a ding in your deck or a hole in your hull, don't fret. Most damage can be repaired fairly easily and the results, even for the do-it-yourselfer, can make it almost impossible to tell where the damage actually took place.
The Right Stuff
The key to deck and hull repair is using the right material.
"That's the biggest mistake people make," said Kawasaki's John Hollis. Hollis should know, too. He works in support services at Kawasaki, taking care of and maintaining the boats used for Kawasaki dealer meetings, press intros and other promotional events, and has seen his share of hull and deck damage.
"More than I care to admit," he added. But Hollis' experience with damaged watercraft has also made him an expert when it comes to repairing them.
"I think the best advice I can give anyone who is repairing their hull or deck is to talk to someone who knows what they're doing first," Hollis said. "If it's your dealer and you're only getting advice about what type of repair kit you should use, make sure they're experienced enough to know the differences between SMC, FRP and hand-laid fiberglass, and they've done some work on them.
"It's amazing, but there are so many different types of hulls and decks out there. You look at our own lineup, where we're using FRP with gelcoat on the decks and SMC on the hull, even on a single model. It's easy for people to get confused."
Our experience confirmed Hollis' point. We called two Kawasaki dealers in the area and neither offered much help. The first said they didn't work on hulls or offer any repair kits. The second said they could order one for use, but added if we didn't want to wait, just about any fiberglass repair kit would work.
Listening to that advice would have been a big mistake because your typical fiberglass repair kit won't work on SMC.
"SMC is the real tough one," Hollis said. "You've got to make sure you find a kit that is made without a polyester-based resin, usually some type of epoxy-based kit or a specific SMC repair kit. It has to do with the SMC molds, which require a special material in the set-up that allows the SMC hull to be removed from the mold. There's something about that set-up material that doesn't allow polyester-based resins to bond with the SMC material. It'll look okay at first, but it won't hold up over the long run."
Keep It Simple
Hollis also suggested that you don't get too ambitious.
"Anything bigger than the size of a fist," Hollis said, "I'd leave to the pros. You get any bigger than that, and you're talking about additional support, layers, reinforcement and blending everything together. Making it look good and hold together is tough for someone who doesn't do it every day.
"The other thing you need to take into consideration is how finicky you are. Most people can handle small dings and cracks, even holes, but making them look perfect, where you can't tell where the damage was, that's another matter. Professionals, at least ones with experience with the type of hull or deck you're repairing, can make it so you can't even tell any damage was done. At least if they're good. That kind of stuff takes practice."
Places to look for experienced help are auto body repair places, "Especially Corvette repair places; they're used to working with SMC," Hollis said and marine repair centers.
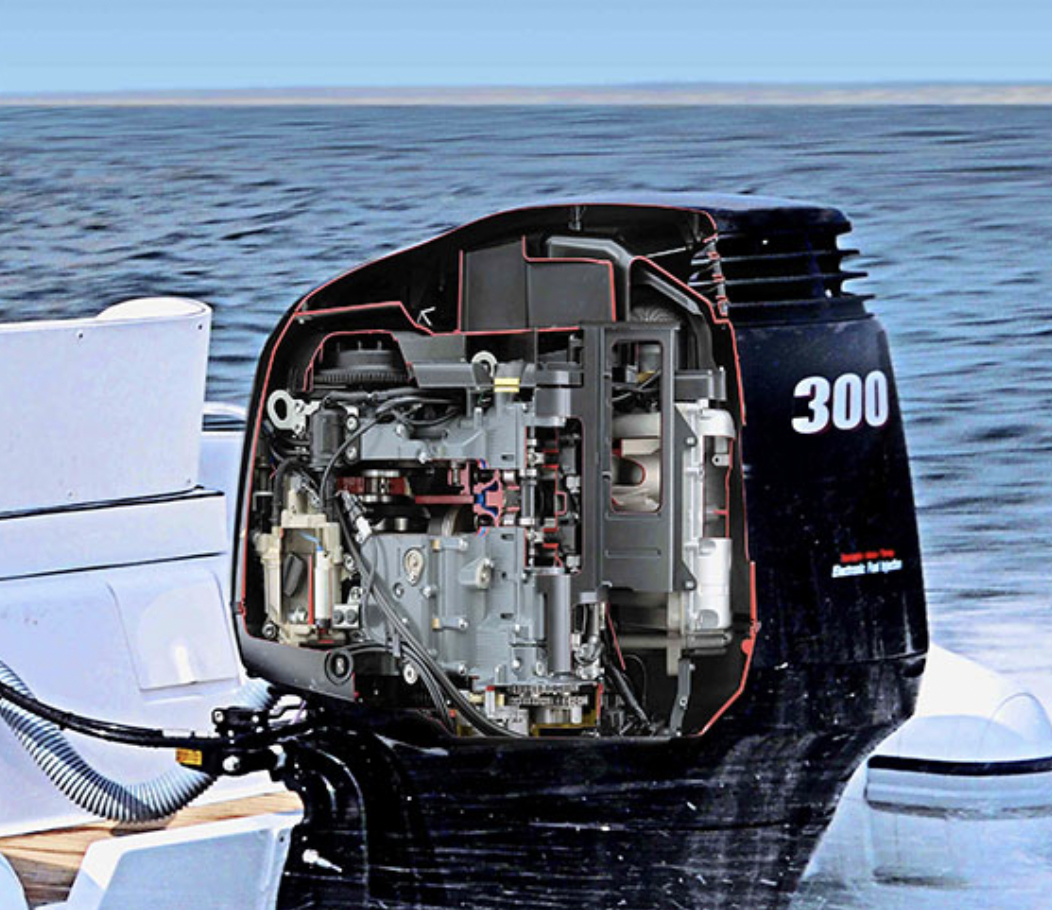
"The key is they have experience with the material you need repaired," he said. "A lot of these places are specialized enough that they won't know what resins work with different materials. A good way to tell if they know what they're doing or not is if they can identify the material just by opening the hood or looking inside the engine compartment."
If you decide to go ahead with a minor repair, you can find the right material at a number of locations. If you're dealing with sprayed, hand-laid or pressed fiberglass, your options are wide open. Most watercraft manufacturers offer specific repair kits in their parts catalog. These kits are convenient, particularly if you need to match paint or a color, and usually provide everything you need to do the job right, even directions, but not all dealers keep them in stock. If you're in a hurry or you don't want to order through your dealer, most boat dealers, marinas and marine supply outlets stock repair kits for $15 or less.
SMC repair kits are tougher to find, though auto supply stores frequently have them on hand. Most marine outlets also stock epoxy repair kits that work fine with SMC.
Getting the right kit is probably the hardest part of the job. From there, it's just a matter of following directions and taking your time.
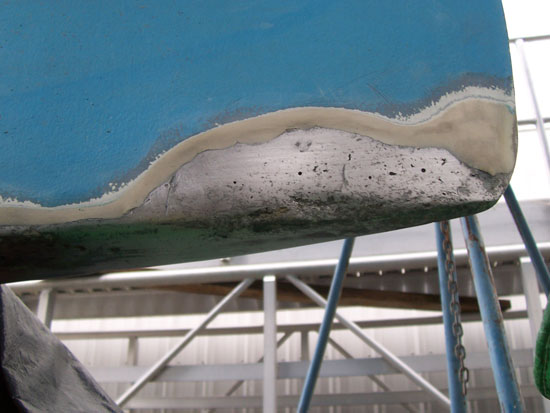
Step 1
As with most things, preparation of the damaged area is key. You'll need to thoroughly clean it and remove all of the damaged material. In most cases, this only means sanding, but if the accident caused structural damage to the fiberglass fabric or the damage goes all the way through the hull or deck, you often need to cut away the damaged strands. This can be a bit traumatic — "What, you want me to make a bigger hole?" — but it will provide better strength down the road.
Step 2
Once the damaged material has been removed, clean away the dust and debris. If the damaged area includes a hole more than a 1 to 1 1/2 inches in diameter, you'll need to provide backing for the patch. In our case, the damage was superficial and didn't go all the way through the hull. If the damage does go all the way through, simply tape a piece of cardboard on the inside of the hull. Make sure you cover the cardboard with cellophane or some type of release paper so the patch won't stick to the cardboard when you remove it.
Step 3
Mix the patching materials. Most repair kits come with separate containers of resin or epoxy and a hardening agent that you mix together to form a paste. In our case, the epoxy resin and the hardening agent came in two tubes. We squeezed equal parts of each onto a small plastic plate (a plastic cup works, too), estimating about how much material we'd need to fill in the damaged area, and then mixed them thoroughly until the green dye in the epoxy disappeared. Most kits use a similar system. Once the resin and the hardening agent are mixed, you have about 15 to 20 minutes to apply the goop before it starts curing or setting up. Larger repairs often require two or three applications.
Step 4
Apply the paste to the damaged area, filling the hole or gouge to the original level. Most modern epoxys and resins are designed not to shrink, so you don't want to overfill the hole. If the area is large or in a place that undergoes a lot of stress or absorbs impacts, you should use a fiberglass screen to strengthen the patch. To do that, cut the screen to fit the hole and force the epoxy or resin into the screen with a squeegee so that all the holes are filled. Then lay the the screen in the damaged area. If the hole is deep enough, you may want to lay several layers of screen on top of one another.
Step 5
Add the finishing touches. To get a high-gloss finish like you find on your deck, use release paper on top of the patch. Most kits will supply a couple of sheets, but cellophane will also work. Tape the release paper in place and smooth the surface with your finger. Once you are done, let the epoxy set for 30 minutes and then remove the paper.
If your patch is in a painted area, you can usually apply the paint after 30 minutes, although you should check with the directions in your kit to make sure.