Inflatable Repair
Quick and easy fix-it tips for inflatable boats
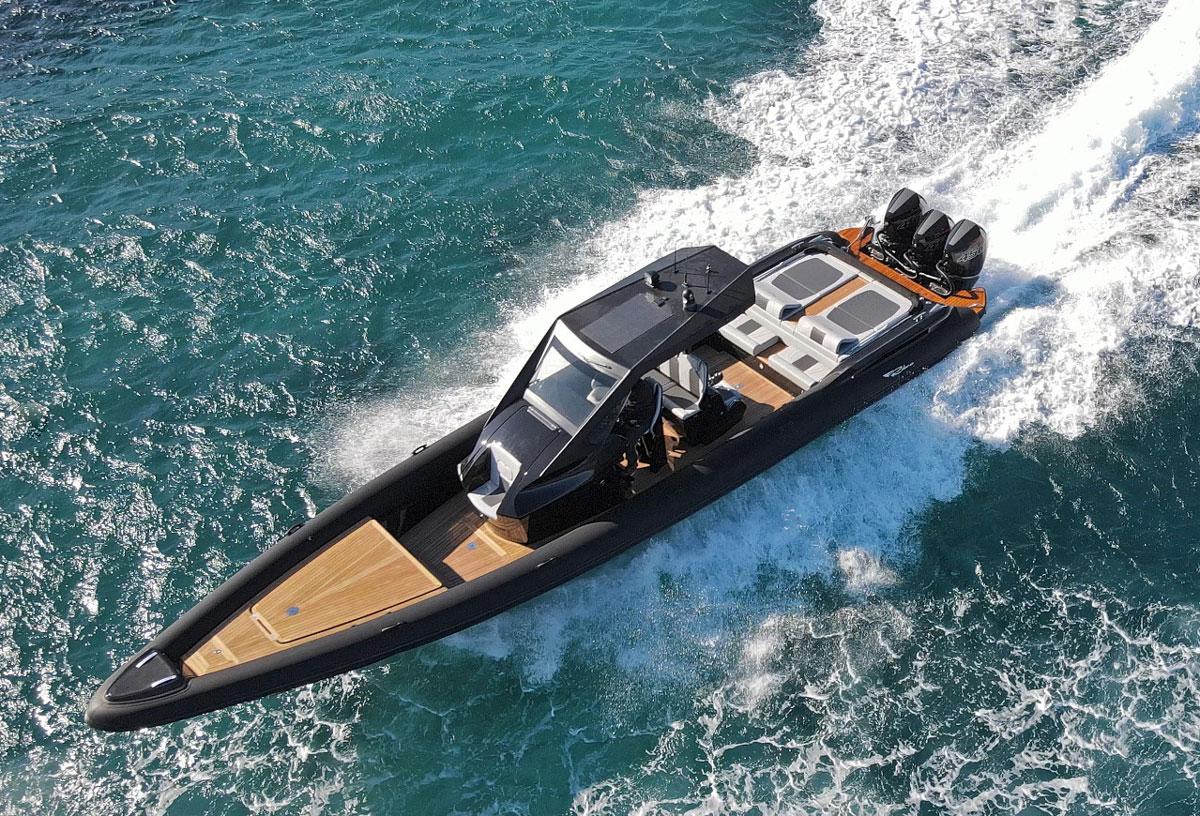
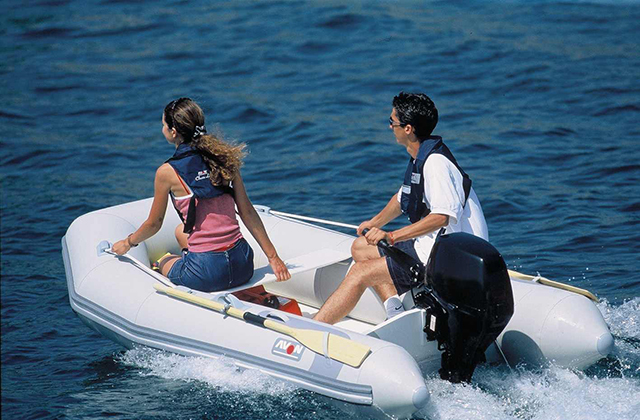
Sixty years ago, inflatable boats were used to deposit commandos on an enemy beach or as a means of survival for pilots who ditched at sea. Today, an inflatable dinghy is more likely to be bringing fresh pastries back from shore or for the kids to use for exploring the harbor.
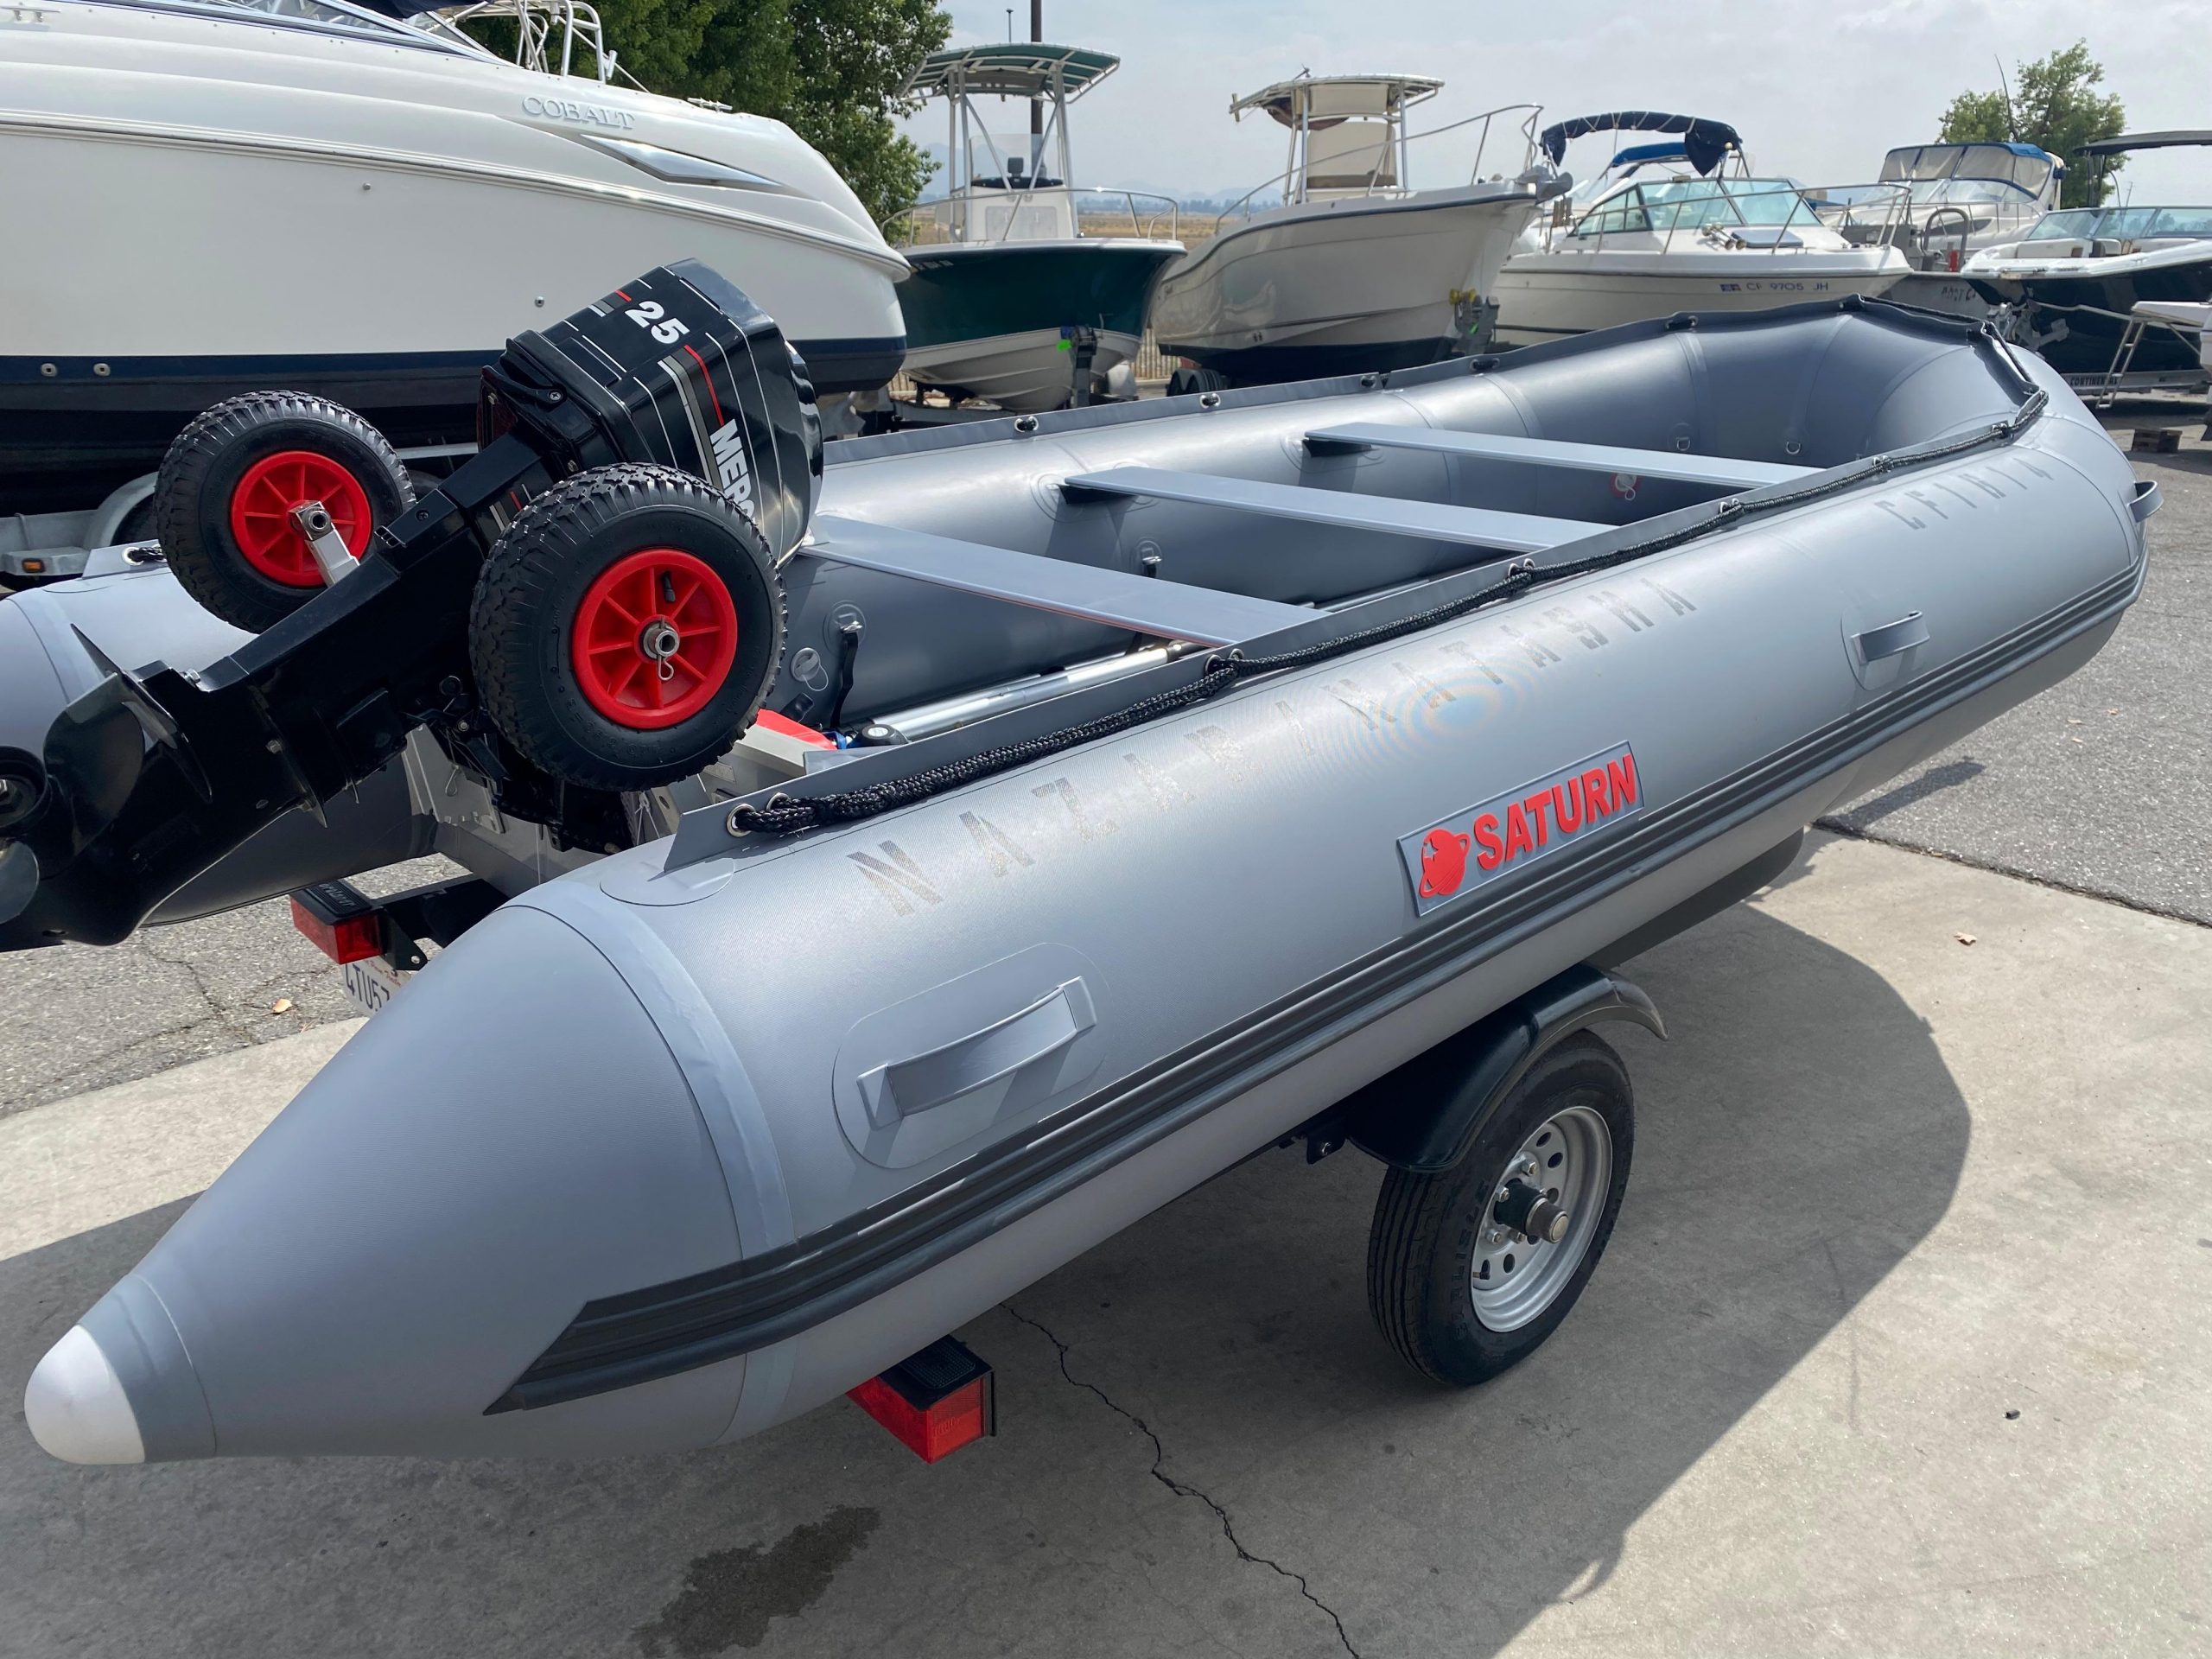
Inflatable boats offer several major advantages over "hard" dinghies--they are light, stable, easily carried and stored when deflated and, with multiple air chambers, almost unsinkable. But inflatables are not without their negative sides, and the primary one is that they require greater care than a fiberglass dinghy.
Before we look at the care and repair of your inflatable, you need to know about the materials and construction of your inflatable. The majority of all inflatables used for boating consist of a substrate and a coating: the substrate provides the strength and the coating provides the waterproofing. Common coatings are elastomers, with trade names such as Hypalon or neoprene, or copolymers, such as PVC. The substrates are likely to be either polyester or nylon.
Before attempting any repair on your inflatable, you must know what type of materials you are repairing, because the glues that bond to Hypalon, for example, will not work on a PVC material.
Taking care of your inflatable is the best way to keep from having to make repairs. The "skin" of your inflatable is much like your own skin: it is susceptible to both abrasion and puncture. When tying up your inflatable, don't leave it to chafe against a piling covered with sharp barnacles or a dock with rough-edged wood planking. If you're going to pull your inflatable onto a beach, try to lift it as much as possible so that you don't drag it over rocks or shells.
On a regular basis, you need to rinse out your inflatable, because the nemesis of every inflatable boat is sand and grit. The sand can lodge in the crevices between the side tubes and the floor or under the wood floorboards and, as the boat moves through the water, that sand has all the properties of sandpaper to grind away at the skin of your inflatable. If you can, stand your inflatable up on its stern or turn it upside down so you can thoroughly flush away all the sand and grit. Rinse off the valves to keep grit out of the mechanism.
Take care when using your inflatable, too. Sharp objects are an obvious no-no and, if you plan to carry spear guns, knives, or other gear that cause punctures or tears, be sure to insulate them away from the hull of your inflatable. Even the corners of a metal gas tank are enough to start abrading the waterproof surface of your inflatable. If you spill gasoline or oil on your inflatable, rinse it off as soon as possible.
Do not ever use a silicone sealant to patch your inflatable, and stay well away from silicone-based coatings such as Armorall which, though they make your inflatable shiny, will prevent patches from ever sticking to the hull.
Leaks in your inflatable are likely to come from one of four sources: punctures, wear, porosity, or valves. It doesn't take great skill to repair a puncture or tear using a inflatable repair kit, although experts suggest that any tear longer than about four inches should probably be tackled by professionals.
Wear is caused when the protective waterproof coating is abraded away, such as when you pull the boat up on the beach or when a wooden floorboard rubs against a tube.
Porosity is usually a result of either age or sunlight, and is usually a breakdown of the coating caused by ultraviolet rays, improper storage, overheating, or extended exposure to salt water. Porosity can appear to be a rough or crackled area in the coated surface which leads to pinhole air leaks. These leaks can be patched at first, but porosity is an indicator that it's time to replace your inflatable.
Valve leaks are usually caused by sand or grit jamming the mechanism, or by a missing o-ring necessary for an airtight seal. Use the inflatable air pump to blow out foreign particles from the valve and, if that doesn't solve the problem, have a new valve installed.
Most leaks, however, are simply pin hole punctures or tiny cuts that you can repair easily. Avoid generic inflatable repair kits and rely on kits from the manufacturer of your raft, which can be found at most marine hardware stores or your inflatable dealer. Most factory repair kits include the proper glue (and a catalyst or accelerator), a solvent for cleaning and pre-softening the material, and swatches of fabric.
In addition to the kit, you'll need to supply 80-100 grit sandpaper, masking tape, paper cups, scissors, tongue depressors, and a sturdy spoon.
Finding the leak is your first challenge, because you have a lot of surface area and a leak that is probably no bigger than the head of a pin. Of course, if you stuck your knife in the inflatable, then you know where to look but, otherwise, you'll have to search. Mix up some dishwashing detergent in water and, with your boat fully inflated, pour or brush this soapy water over any areas you suspect. An air leak is immediately indicated by the appearance of soap bubbles. Mark the spot with a pencil, and keep checking until you've found all the leaks.
Deflate the chamber with the leak, and cut a patch to the proper size. If possible, the patch should extend two inches beyond the hole in all directions. With the patch trimmed and the corners rounded to prevent snagging later, put the patch in place and trace around it using a pencil. Apply masking tape 1/8 inch outside the outline to keep the glueing neat. If the weather is cold or the raft is damp, use a hair dryer to warm and dry the patching area.
Follow the directions of your repair kit to the letter! In most cases, you'll scuff up the surface to be patched and then wipe the area with a solvent like toluene. Some repair kits require you to first wipe the area with the solvent as a cleaner, then reapply a heavier coating to soften the fabric in preparation for glueing.
The glue is likely to be a two-part solution that you'll mix thoroughly in a disposable cup, using a tongue depressor. Be sure to use fresh glue, since some types of glue can lose their power with age. Apply the glue and wait the length of time specified by the instructions- no more and no less. Press the patch in place and use the spoon to work out any air bubbles and create a good seal. You can compress the patch with a brick or a diving weight, or you can clamp the repair between two blocks of wood to help assure a permanent bond.
When the glue is fully cured, remove the masking tape and examine your handiwork, which should be smooth, fully bonded around the edges, and free of bubbles or creases.
In an emergency, you can repair large rips by using a patch on both the inside and the outside, which may require you to open up the rip so you can get the glued patch inside. A long rip should probably be stitched together before repairs but, again, this is best left to the pros. If you find yourself in a remote area without an inflatable repair shop, check at the local airport where you may find someone who services aircraft life rafts.
If you take care of your inflatable, you can expect years of trouble-free life and, as with most gear on your boat, a little preventive maintenance can go a long way toward preventing future problems.